‘Sew easy’ fleece neck warmers
12/22/2020
Feeling a little chilly around the neck this time of year? An odd question, maybe, but not quite so out of the ordinary — especially in Minnesota, where I live, and where we have to be conquerors of bitter winds and snow.
Even in moderate climates, a little added warmth on a damp, cold day can feel cozy and comfy, and that’s when wearing a simple fleece neck warmer can make a difference. Save money and enjoy making easy-to-sew neck warmers for yourself, family and friends in patterns and lovely colors for a warm-up solution when heading outdoors — whether, skiing, skating or taking your dog for a walk.
You might include your teens in the making. If they have never used a sewing machine, it’s a good first sewing project because of the simple straight seams. Once you see how quickly these neck warmers come together, you’ll be inspired to make more for birthday presents and for guests if you host an outdoor winter party.
Kids of all ages might enjoy helping you choose colors and patterns of fleece online and at your local fabric store. For best results, use the heaviest type of fleece. (Stores such as JoAnn offer coupons regularly for significant discounts on your purchase. My neck warmers came to less than $4 each using the heaviest “Luxe” variety.)
I homed in on patterns and plaids, but solids are also a good choice and a great look with sweaters and winter jackets. Plus, the straight lines of plaids and checks provide a visual guide when measuring and cutting, a timesaver when cutting out several neck warmers.
Here’s what you’ll need for four teen- and adult-size neck warmers:
— tissue paper or plain large sheet of paper for making pattern
— straight pins
— 2/3 yard of 56- to 60-inch-wide heavyweight fleece fabric
— good sewing scissors
Here’s the fun:
1. Make a pattern. Measure and cut the paper 10 1/2 inches x 21 inches.
2. Pin pattern to single layer of fabric making sure the short side of the pattern is placed parallel to, but not on, the selvage. This way, fabric should stretch along its longer side. Setting the pattern this direction ensures that the neck warmers give correctly. Cut the fabric.
3. Fold the rectangle in half width-wise with right sides facing. Pin and stitch, allowing for a 1/2-inch seam.
4. Hem both open sides. First fold over edges 1/2 inch and insert pins to hold place. Stitch with sewing machine. Remove pins.
5. Turn neck warmer right side out. It is ready to wear.
Share with friends!
You might also like:
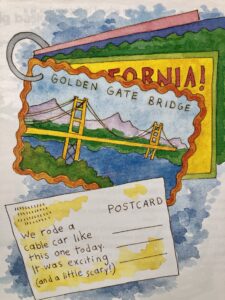
ABC Postcard Game
If your child’s grandparents or aunts and uncles live far away and you get together only a few times a year, develop an entertaining line of communication with a postcard game. Your family will have fun finding just the right postcard to send, while reinforcing alphabet skills at the same time. Start off by finding…
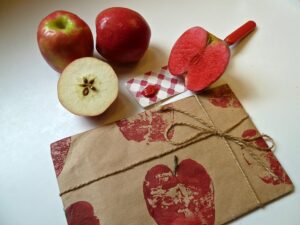
Apple Stamping
Some of my kids’ best and least expensive art supplies have come from nature. Acorns, leaves, shells, pinecones and sticks have all provided inspiration for a plethora of family craft and decorating projects. Now that apple season is here, it’s a perfect time to get your creative juices flowing and use real apples to stamp…
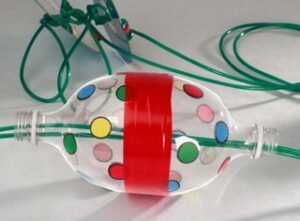
Backyard Toy With Zip!
If your school-age kids are moping around with nothing to do, show them how to make their own fun with this action-packed “Zip Toy.” Not only does it make a great “zip” sound going down the line, but its name could just as likely refer to how quickly you and your kids can put it…
DONNA ERICKSON
